Affiliate Marketing
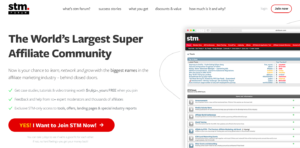
STM Forum Review 2024: Overhyped or Legit Affiliate Forum?
Affiliate marketing 🤔 is one of the crucial parts of online business. STM Forum is the world’s largest affiliate marketing


Affiliate marketing 🤔 is one of the crucial parts of online business. STM Forum is the world’s largest affiliate marketing

Want to make money easily from your website or blog? 🚀 Welcome to the world of Best Hosting Affiliate Networks!
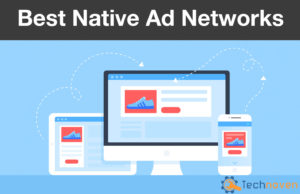
Native Ad Networks are a great source for advertising and people are preferring to move towards them, more than ever.

Advertising is a very vital aspect of every business. Before the advent of digital advertising, businesses marketed their product via
The world of digital marketing is constantly evolving, and staying ahead of the game is essential for success in today’s

Are you looking for the Best Push Advertising Network? 👍 Three things to figure out while choosing best push ad