Movavi Screen Recorder Review: Everything You Need to Know
Have you ever wanted to record something cool you saw on your computer screen? Let me tell you about Movavi Screen Recorder. 🖥️✨
It’s super easy to use and really helpful. You’ll start liking it as soon as you see how it works. It can record your screen and even lets you edit the videos. 🎥👍
Sounds great, right? It’s perfect if you want to capture something important or fun. 🌟🎮
I’m going to share my own experience with this tool, so you can see how it might help you too. Keep reading for my personal review! 📝😊
Can Movavi Transform Your Video Projects? Here’s What I Found
Movavi Screen Recorder is a user-friendly software that lets you capture anything on your computer screen with just a few clicks.
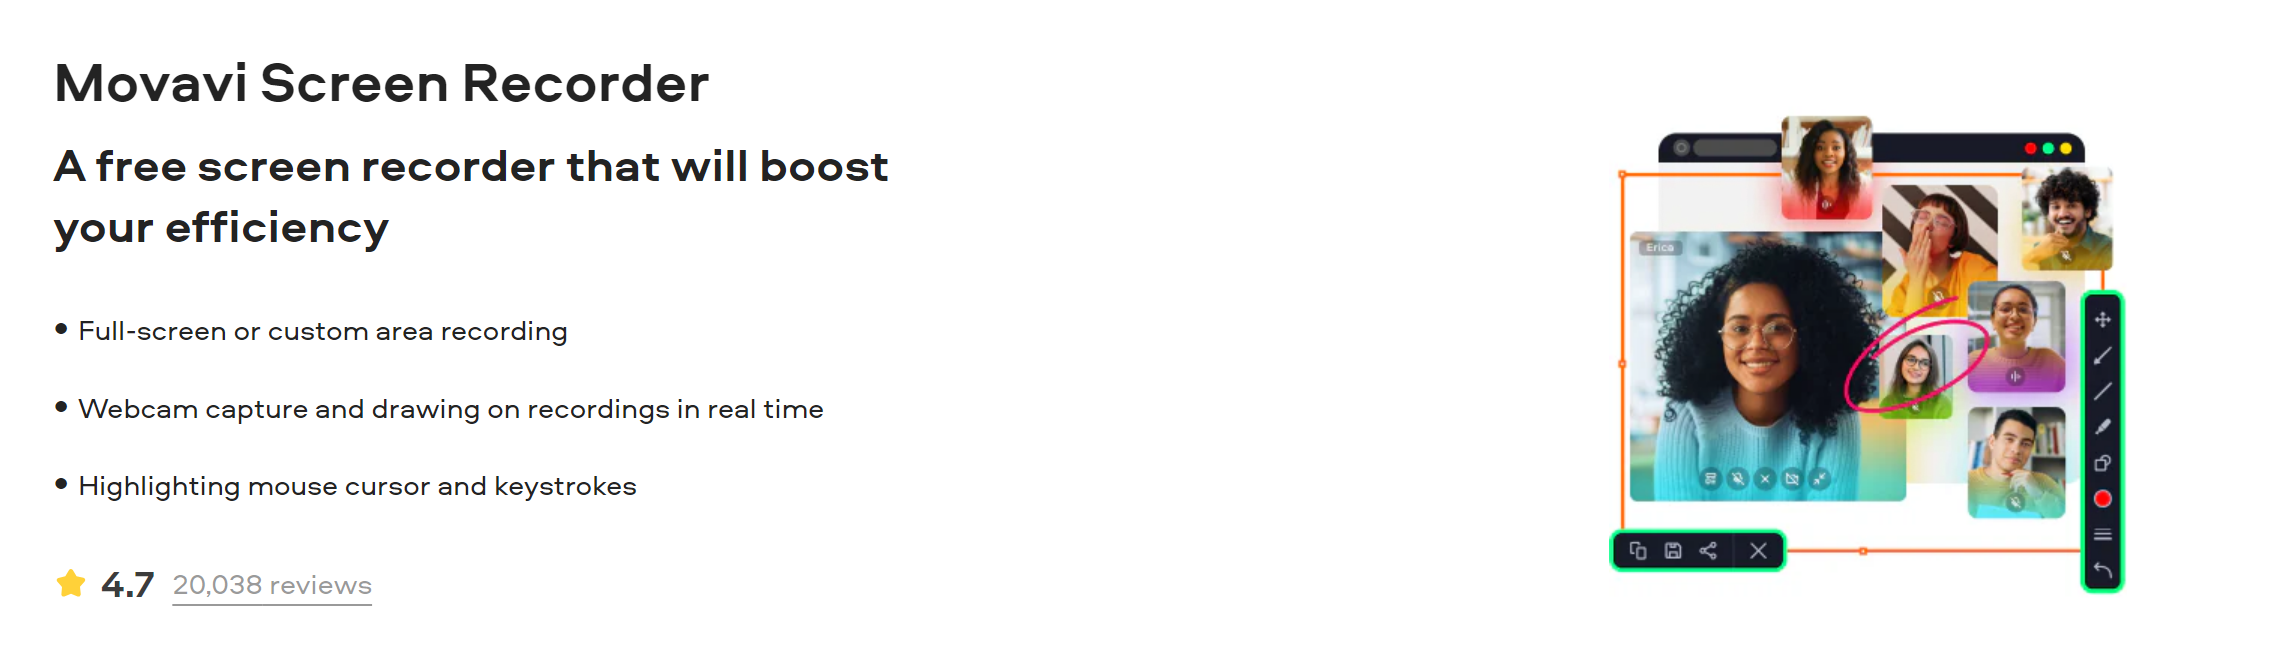
Whether it’s video calls, online events, or streaming videos, you can record it all in high quality. It’s not just about recording; you can also take screenshots, edit them, and even schedule recordings for later.
Ideal for creating tutorials, saving online meetings, or capturing streaming content, Movavi Screen Recorder is designed for ease and flexibility, making it perfect for both beginners and seasoned users.
A Closer Look at its Interface: Intuitive Design for Effortless Recording
Having used Movavi Screen Recorder myself, I can vouch for its user-friendly interface that’s both intuitive and efficient.
Right from the start, you’re greeted with a clean, uncluttered layout. The main functions are neatly organized and easily accessible from the main screen.
What I particularly love is how straightforward the navigation is – there’s no need to dig through complex menus.
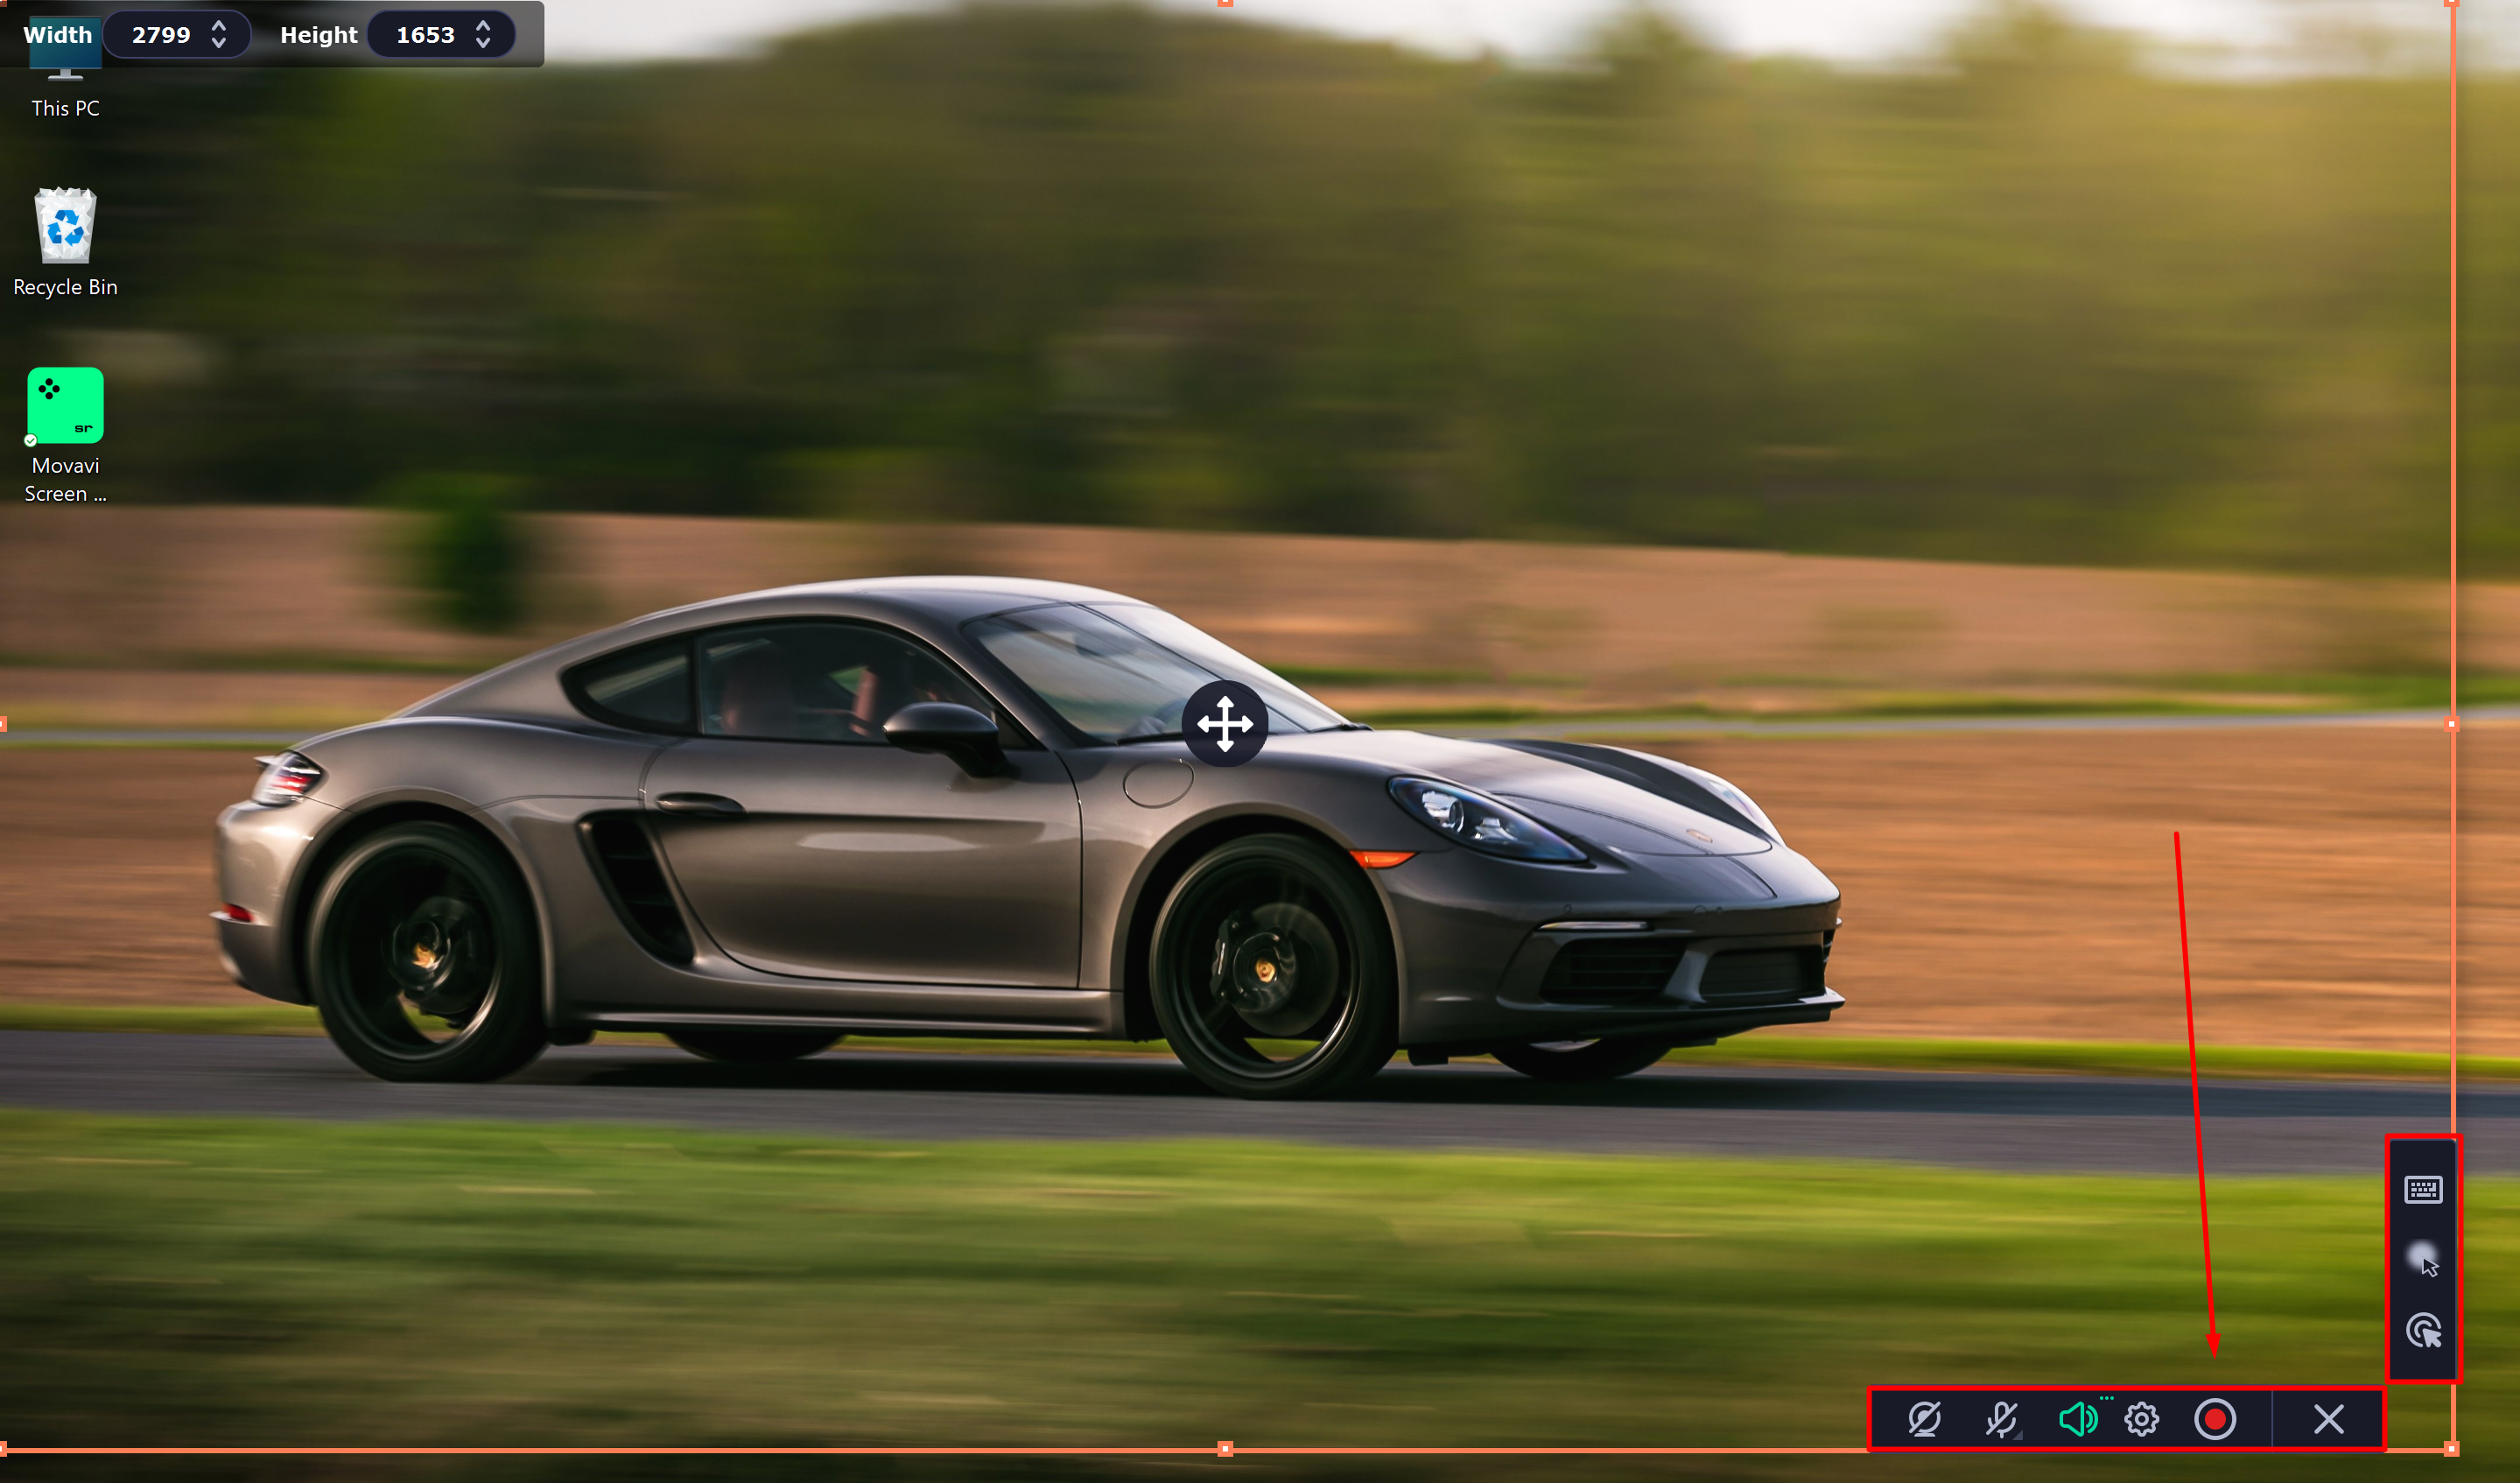
The recording controls are simple and self-explanatory. You have your basic ‘Rec’, ‘Pause’, and ‘Stop’ buttons prominently displayed, making it a breeze to start and stop recordings.
The options for selecting recording areas, adjusting audio settings, and even scheduling recordings are all just a click away.
Another aspect I appreciate is the visibility of additional features like drawing tools and webcam settings. They’re right there, but not in the way, allowing for a clutter-free experience.
Overall, the interface strikes a perfect balance between simplicity and functionality, making it ideal for both beginners and seasoned users.
#5 Features That Impressed Me Most
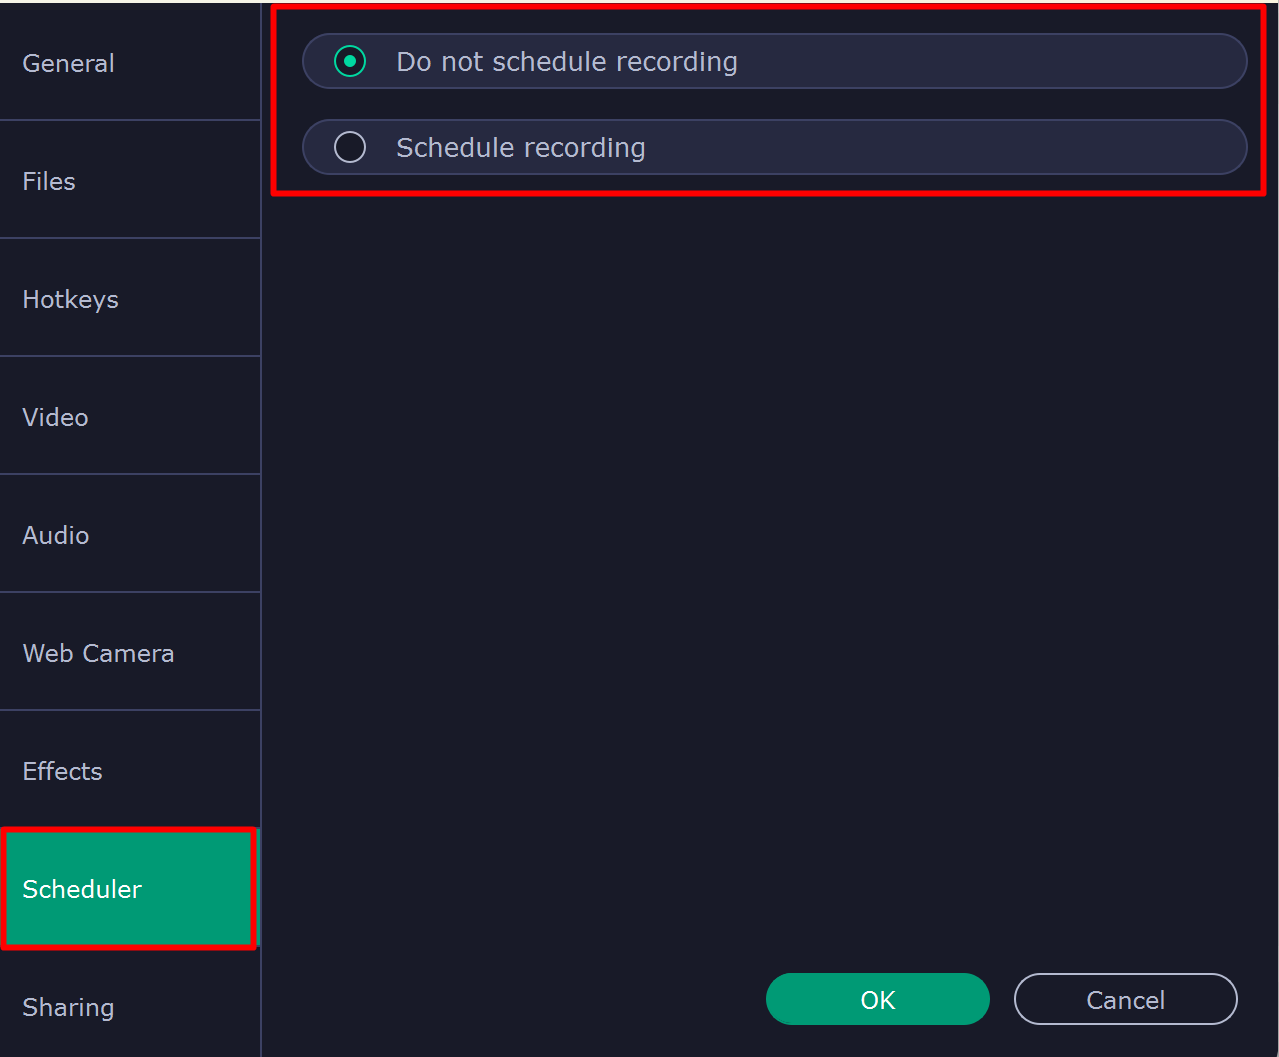
Scheduled Recording
This is a game-changer! With Movavi, I could schedule recordings ahead of time. This feature is perfect for capturing live streams or webinars when I can’t be at my computer. Just set the date and time, and Movavi does the rest.
Drawing Tool During Recording
While recording, I found that I could draw on the video, highlight cursor movements, or add text. This is incredibly useful for tutorials or presentations, as it allows me to emphasize key points directly on the screen in real time.
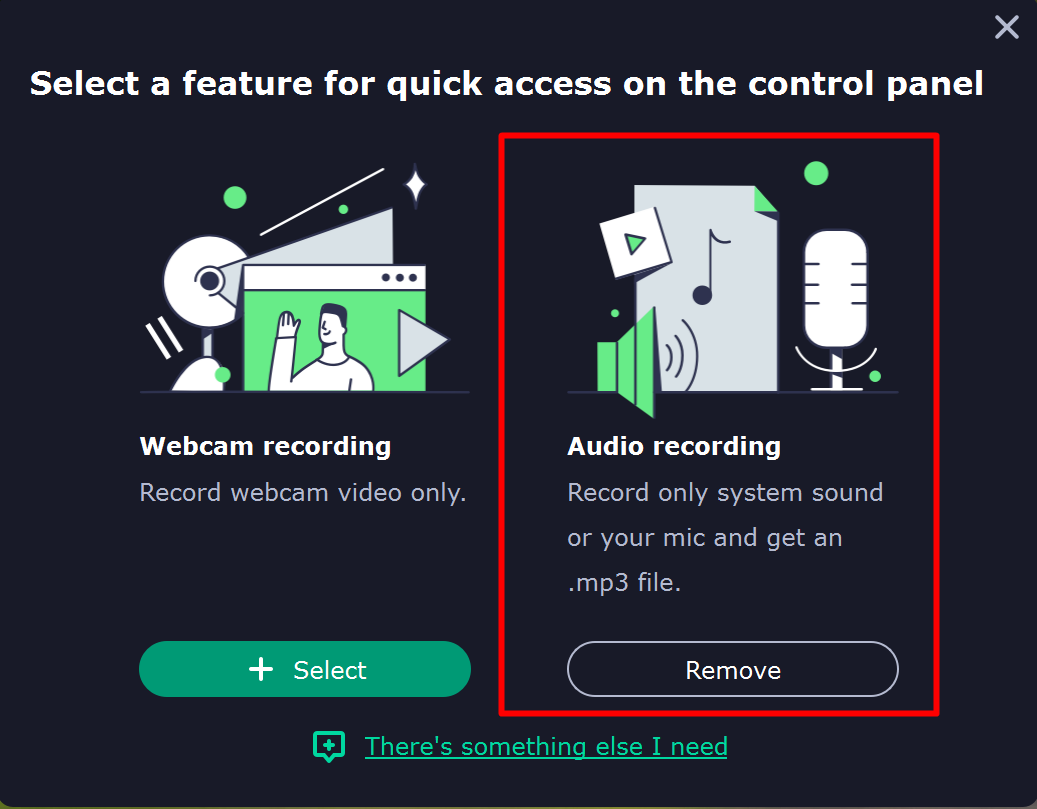
Separate Audio Recording
Movavi lets you record system audio and microphone audio separately or simultaneously. This flexibility is fantastic for creating content where voice-overs or background music are essential, and I could adjust the levels for each source to get the perfect mix.
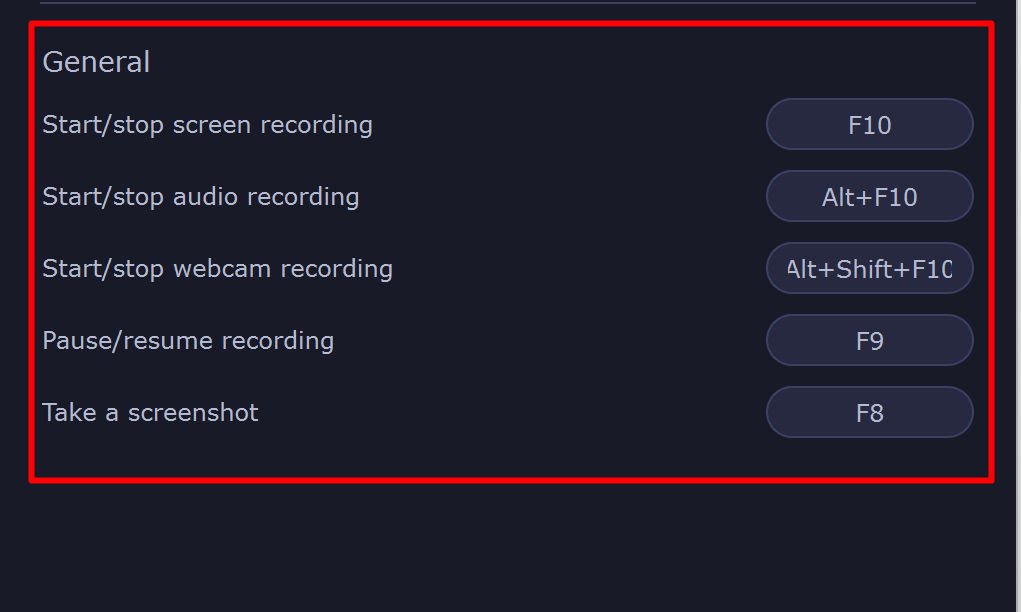
Customizable Shortcuts
I am impressed with how I could set my own keyboard shortcuts for starting, pausing, or stopping a recording. It made the process so much more efficient and seamless, especially when multitasking.
Webcam Overlay
Being able to record the screen and overlay my webcam feed was a standout feature. It adds a personal touch to tutorials or game streaming, and with Movavi, the process was straightforward, and the quality was excellent.

Quick and Easy Screen Recording: Capture Your Screen in 3 Steps with Movavi
Step 1- Start with the Screen Recording Icon
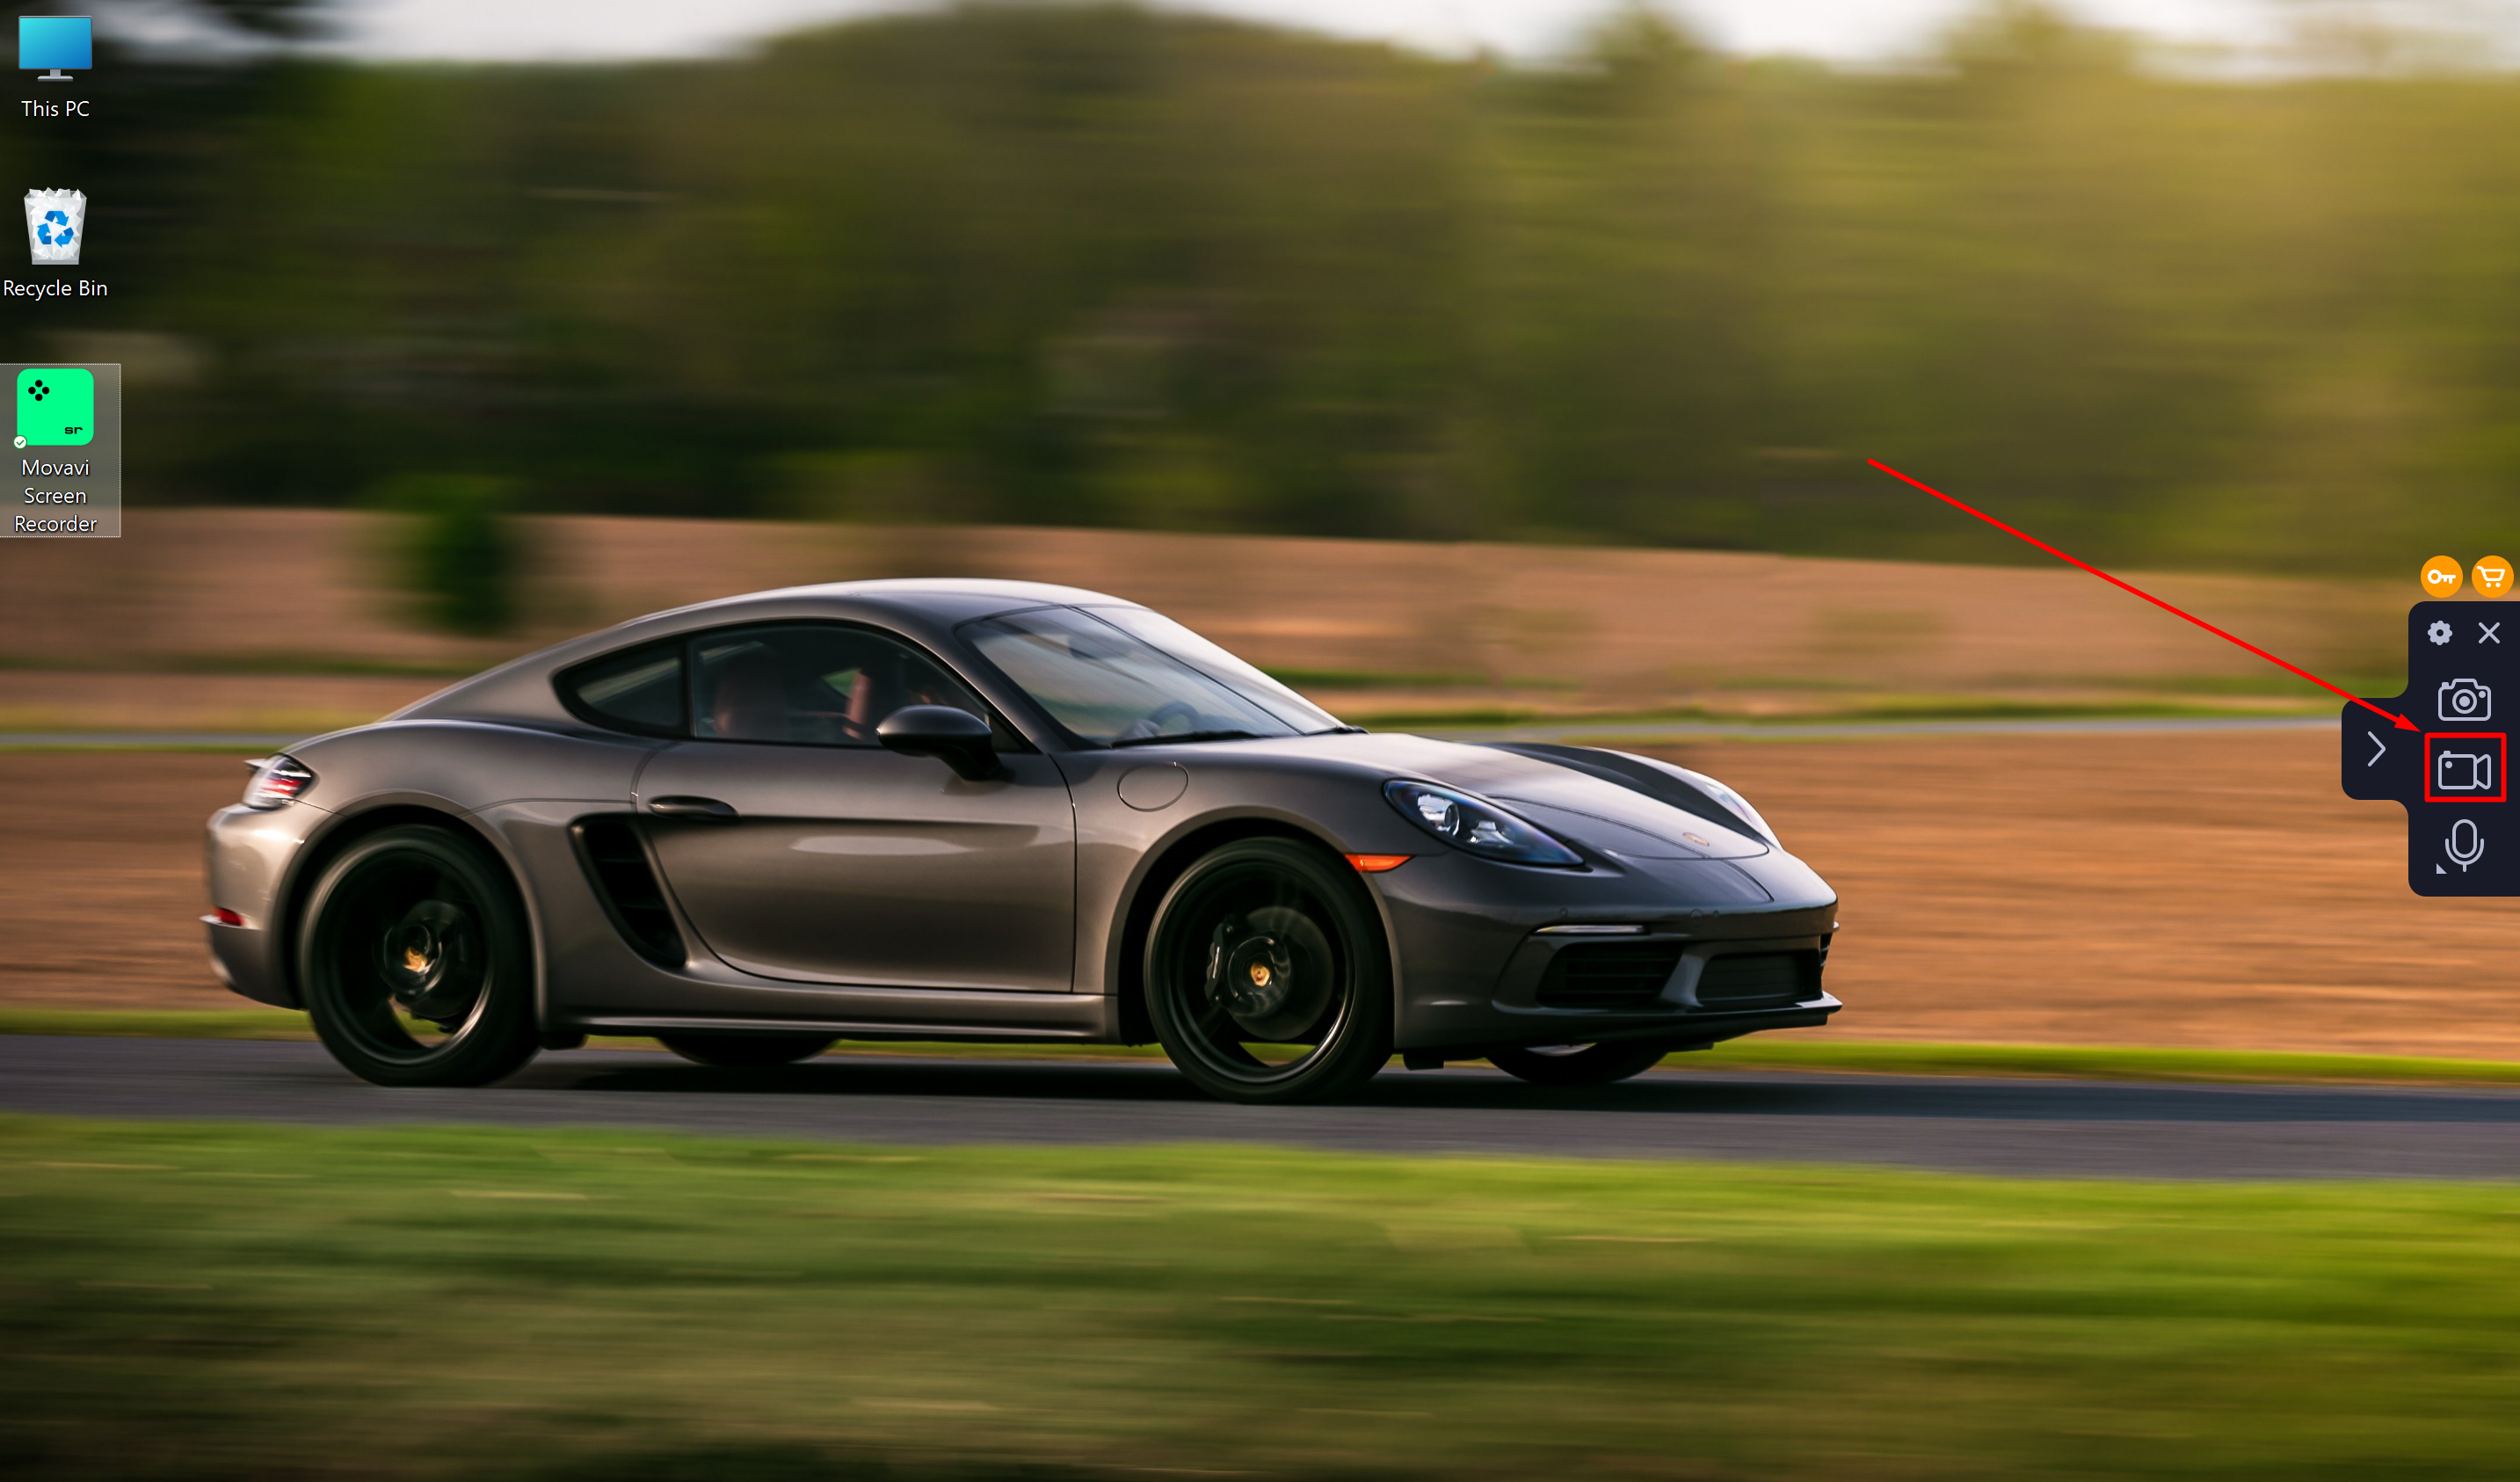
After downloading Movavi Screen Recorder, you’ll see a screen recording icon on the sidebar. This is your gateway to start recording. Just click on it, and you’re ready for the next step.
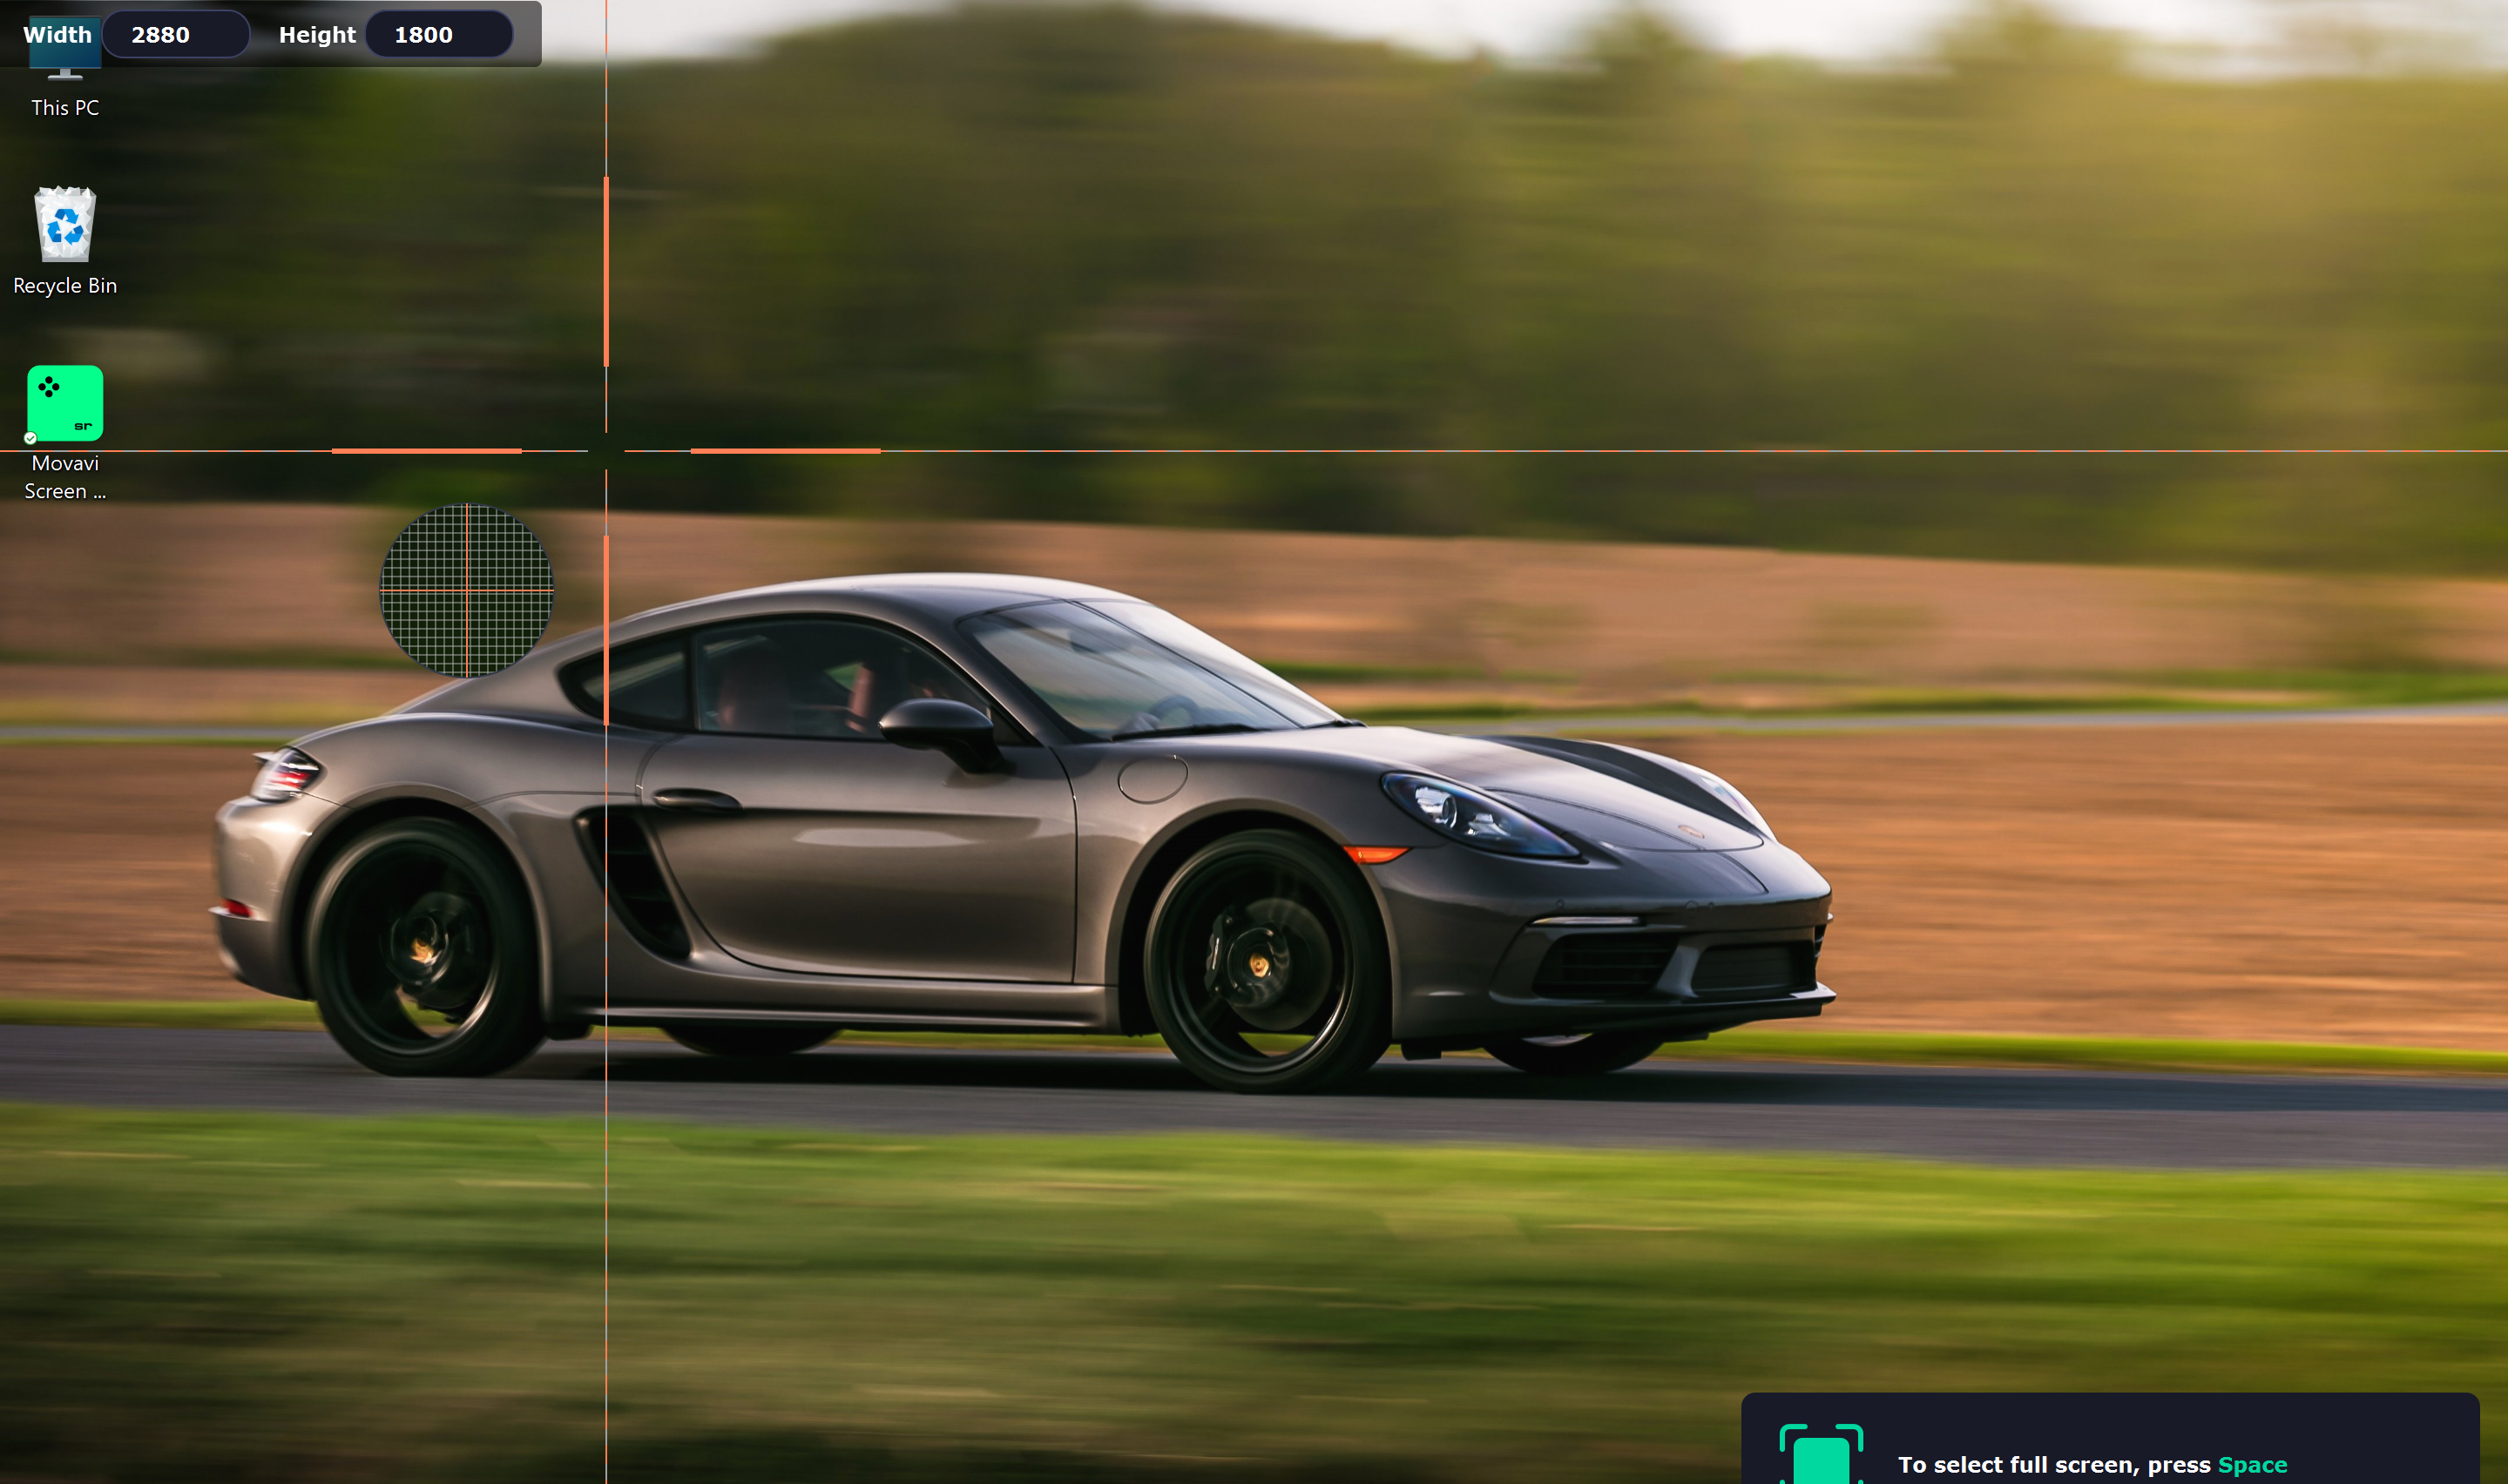
Step 2- Choose Your Recording Area
Movavi allows you to select precisely what part of your screen you want to record. Whether it’s the full screen, a specific application window, or just a segment of the screen, you have complete control. Just drag and select the area you want to capture.
Step 3- Start and Stop Recording
Once you’ve selected your area, hit the ‘Rec’ button to start recording. Everything that happens in your selected area will be captured. When you’re finished, simply click ‘Stop’. That’s it! Your recording is ready to be edited, saved, or shared.
Can Movavi’s Latest Updates Elevate Your Video Experience?
Scrolling Screenshots
This is a lifesaver! Instead of taking multiple screenshots, I can now capture entire web pages or long documents in one go with the scrolling screenshot feature.
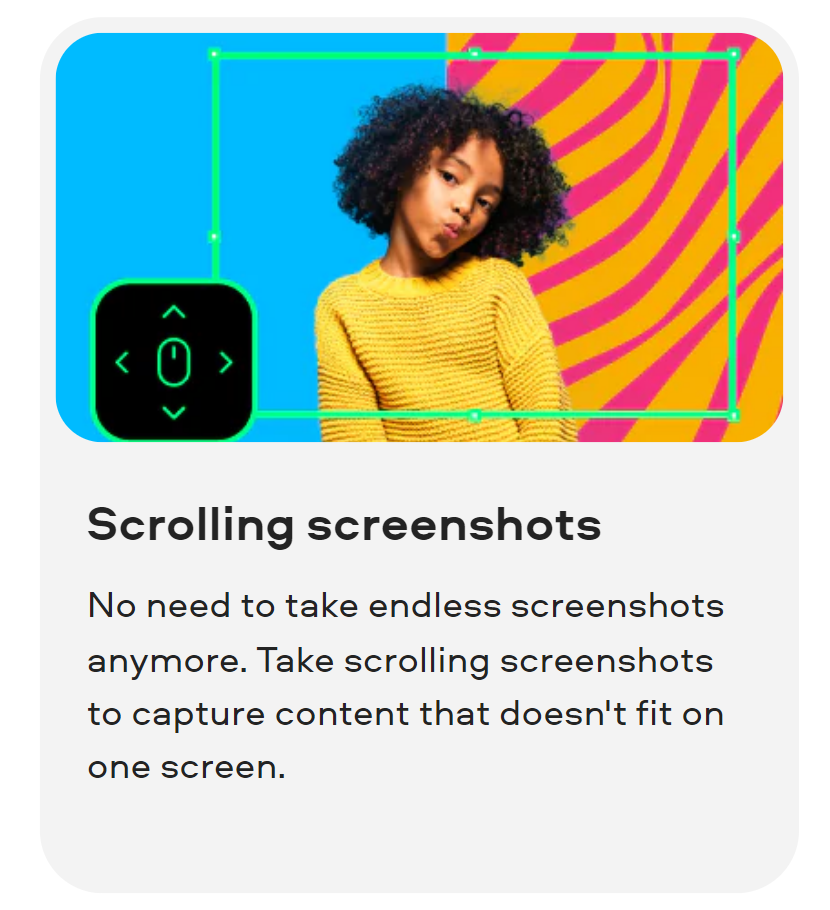
It’s perfect for creating comprehensive tutorial content or capturing extensive information for my team meetings.
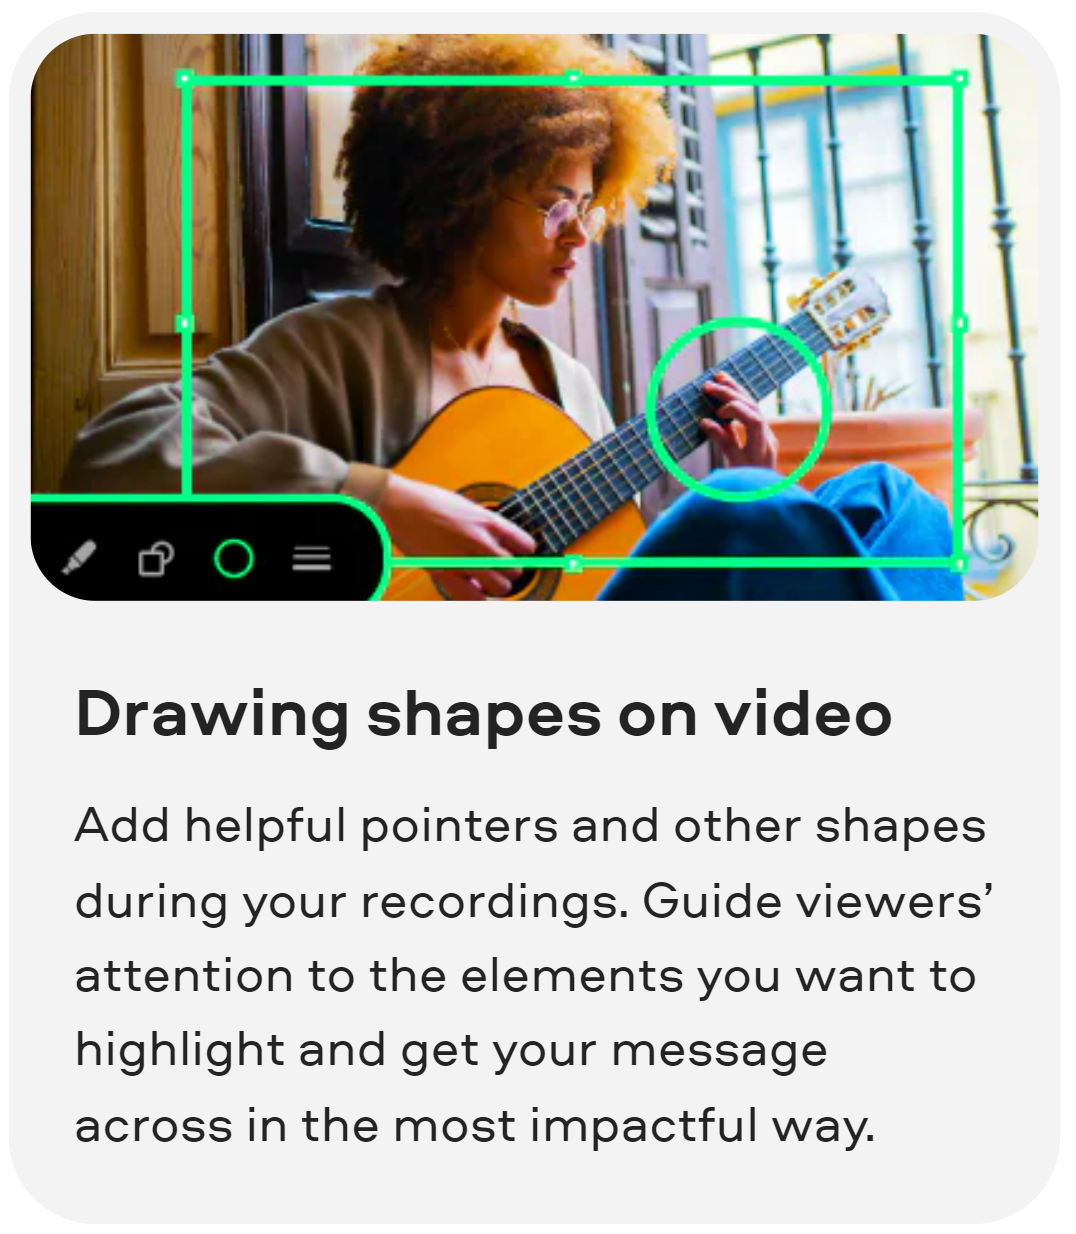
Drawing Shapes on Video
Adding shapes and pointers during recordings has taken my tutorial videos to the next level.
It allows me to direct my viewers’ attention precisely where I want it, making my explanations clearer and more engaging. This feature is especially handy when highlighting key points or steps in software tutorials.
Recording Scheduler
The return of scheduled recordings is a massive plus. I can set up recordings for specific times, which is perfect for capturing live events or webinars that I can’t attend in person.
It also ensures I never miss recording important virtual meetings when I’m away from my desk.
Noise Reduction
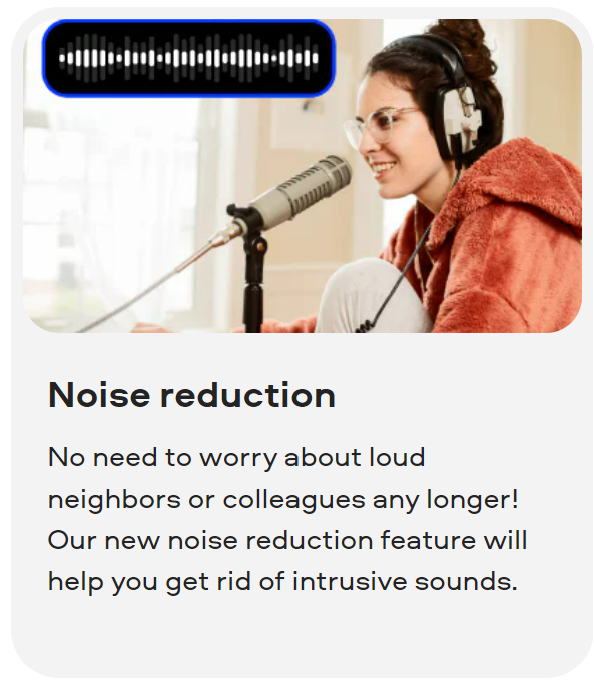
The new noise reduction feature is a game changer, especially in a home environment where unexpected noise is a common issue.
It helps me maintain professional-quality audio in my videos and meetings, free from distractions like background noise from neighbors or ambient sounds.
Each of these features has streamlined my content creation process for YouTube and enhanced the efficiency and professionalism of my virtual office meetings.
The latest updates have truly made it an indispensable tool in my day-to-day work.
Mastering Multimedia: How Movavi Screen Recorder Fits into Your Daily Life?
For Content Creators
If you’re into creating tutorial videos, gaming content, or webinars, Movavi is a godsend. The ability to record high-quality videos on your screen, coupled with the ease of video editing and adding voiceovers, makes content creation a breeze.
For Students and Educators
For students, recording online lectures for later review is extremely helpful. Similarly, teachers can create educational content, record their lectures, or provide feedback on assignments through screen recordings.

For Professionals
In the professional realm, Movavi is great for creating presentations or product demos. You can record your screen as you navigate through slides or software, providing a more interactive and engaging experience for clients or colleagues.
For Remote Teams
In today’s remote working culture, Movavi helps in documenting meetings, and training sessions, or providing step-by-step tech support with visual aids.
Personal Use
Even for personal use, like recording a video call with family or capturing a streaming video, Movavi is very efficient and easy to use.
Gecata: Elevating Gaming Recording and Sharing with Simplicity
I personally used Gecata, and it’s a noteworthy screen recording software. It offers a unique and straightforward approach to screen recording, making it ideal for gamers and content creators alike.
One standout feature is its Game Mode, which optimizes settings for recording games without impacting performance. This is incredibly handy for capturing gaming moments seamlessly.
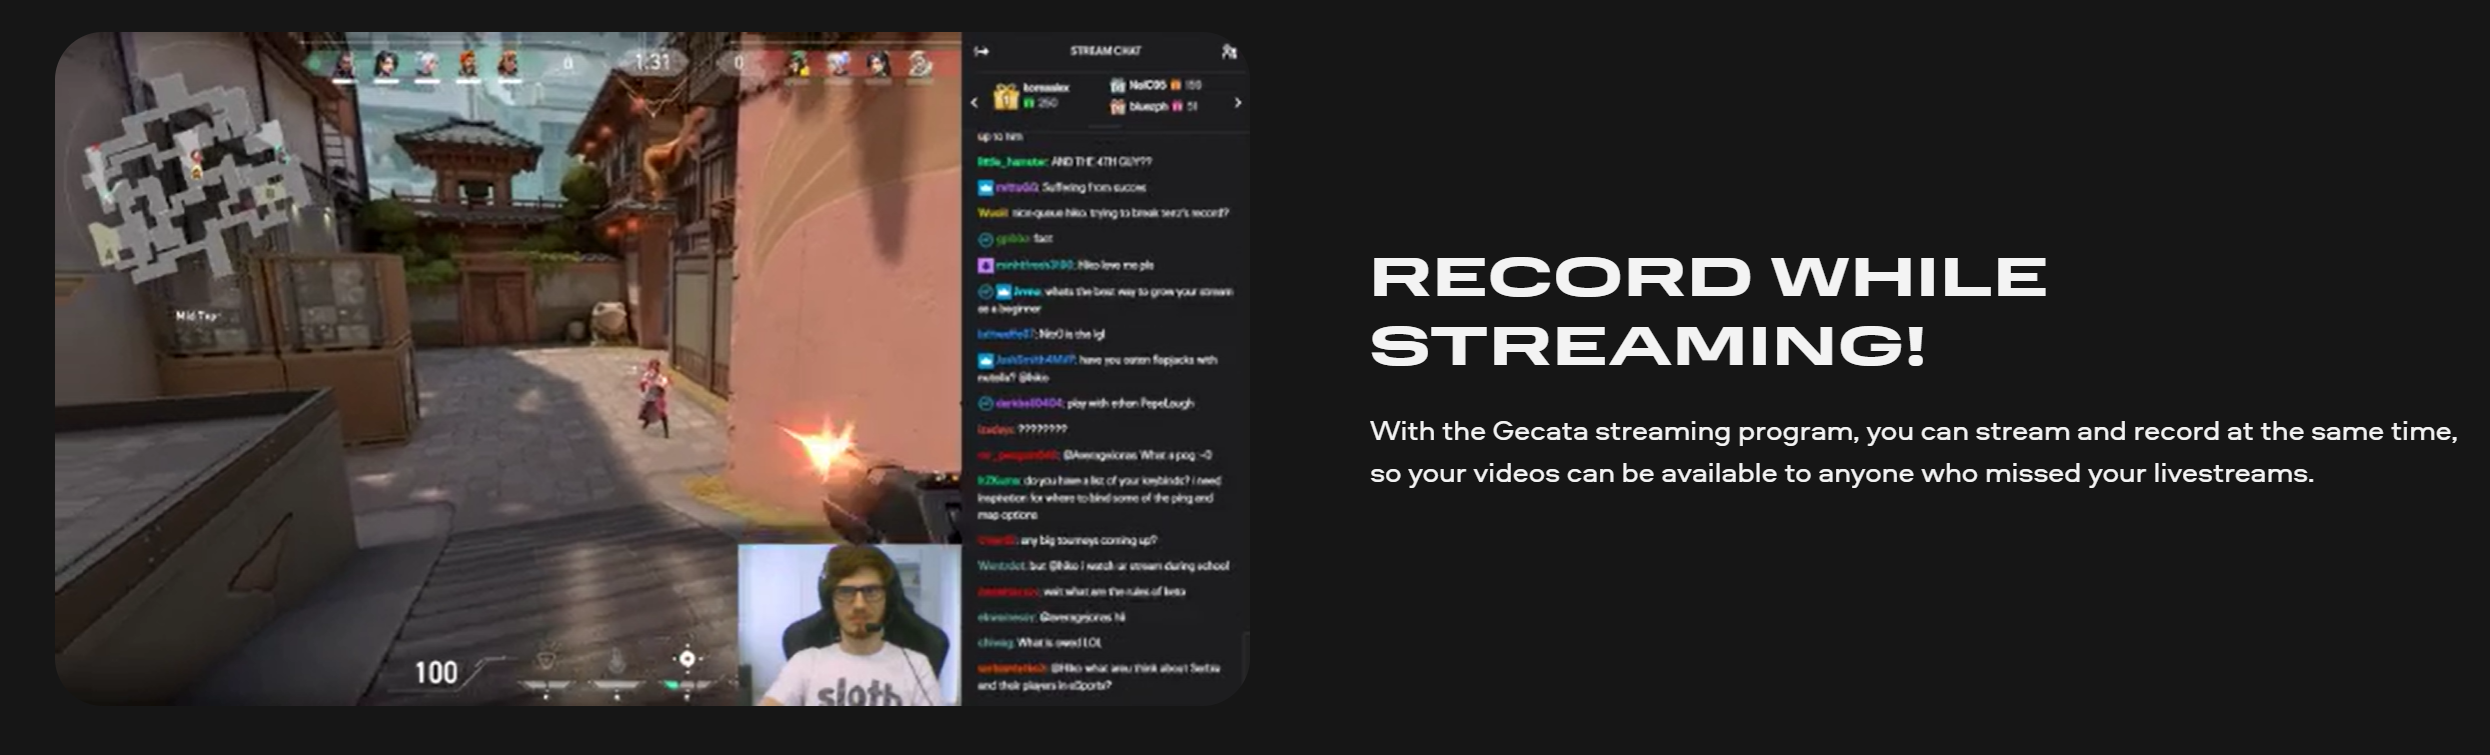
Additionally, Gecata provides easy-to-use tools for editing recordings, including trimming and adding effects, which I found great for polishing my gameplay clips.
Its simplicity extends to sharing options, allowing me to upload recordings directly to platforms like YouTube.
Overall, Gecata impressed me with its gamer-friendly focus and user-friendly approach, making it a valuable tool for capturing and sharing gaming experiences.
Quick and Easy Recording: Unleashing Hotkey Magic
Quick Start
You can set up hotkeys to instantly start and stop recording. This means that with a simple key combination, you can initiate a recording without needing to manually click on buttons within the program. It’s a time-saver, especially when you need to capture something on the screen quickly.
Pause and Resume
Hotkeys also allow you to pause and resume recordings seamlessly. If you encounter a moment during recording that you don’t want to capture, just pause it. Then, when you’re ready to continue, hit the hotkey again to resume without creating separate video files.

Screenshots on the Fly
Want to capture a screenshot without interrupting your recording? Movavi lets you assign a hotkey for taking screenshots during recording. It’s incredibly useful for annotating or highlighting specific points while explaining something in a video.
Mute and Unmute Audio
You can even set hotkeys to mute and unmute the microphone or system audio. This feature is handy for scenarios where you need to toggle audio input without disrupting the recording.
Framerate Control, Superspeed Conversion, and GPU Compatibility
Framerate Support
Movavi Screen Recorder allows you to choose the framerate for your recordings, including common options like 30, 60, and 120 frames per second (FPS).
This flexibility ensures that you can capture videos at the framerate that suits your specific project, whether it’s for smooth gameplay recording or standard video content.
Superspeed Conversion
One standout feature is the Superspeed conversion. This enables you to save your recorded videos in a format that is optimized for quick and hassle-free sharing and playback.
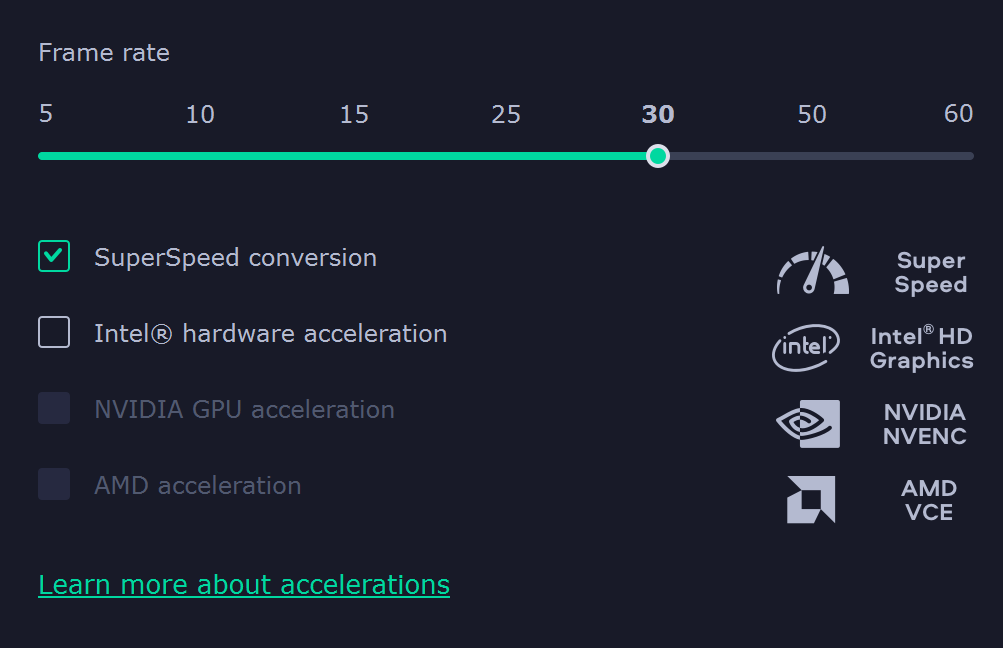
It’s perfect for situations where you need to share your recordings swiftly, without compromising on quality.
Graphics Card Compatibility
Movavi Screen Recorder is designed to work seamlessly with a wide range of graphic cards. This ensures that the software can efficiently utilize your computer’s GPU (Graphics Processing Unit) to enhance the recording and rendering process.
Whether you have a dedicated GPU or integrated graphics, Movavi can work with it, helping maintain smooth recording and playback.
🔥 Final Says- Is It Worth To Use In 2026?
Without a doubt, in 2026, Movavi Screen Recorder will continue to be an invaluable tool for anyone looking to capture and create content effortlessly. Having personally explored its features, I’m convinced of its worthiness.
Movavi simplifies screen recording and editing, making it accessible to beginners and a time-saver for professionals. With features like hotkeys, customizable framerates, Superspeed conversion, and GPU compatibility, it caters to a wide range of recording needs.
For content creators, educators, gamers, and professionals, Movavi is a versatile companion. It’s not just about recording; it’s about enhancing the way you capture and share moments, making it an essential part of my digital toolkit in 2026.