Coupons and Discounts
60% Off | CleanMyMac X Discount Code 2024: 100% Working
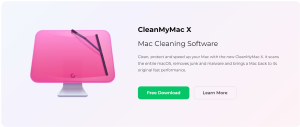
Awaken your Mac’s fullest potential without breaking the bank using our exclusive CleanMyMac X Discount Code! Imagine an optimized, fast,


Awaken your Mac’s fullest potential without breaking the bank using our exclusive CleanMyMac X Discount Code! Imagine an optimized, fast,
Who doesn’t love a great deal? Imagine this: You’re shopping online, a cart full of finds, and then you spot

It’s time to upgrade your wardrobe, without spending too much on purchase! But how? Shein coupon codes are here to
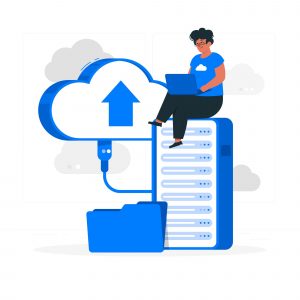
Have you ever lost important photos or documents on your computer? Imagine never worrying about that again! 📄 Welcome to

Want to make your business really shine? Meet the Best POS Software! 🌟 It’s super easy to use and great

Tired of Juggling Between Mac and Windows? Discover how seamless your workflow can be! Ever felt the frustration of switching